In this blog post, we’ll teach you how to turn your beloved photos into stamps. You can choose any photo you adore for this project - from your family portraits to your favorite skyline, a pet, or your latte art from last week.
There are multitudes of options for how to pick the best picture. You can choose a sentimental photo or the clearest image, whatever feels best for the craft that you have in mind.
How to Turn a Photo into a Stamp
There are many ways to accomplish going from a picture to a stamp. For the sake of simplicity, here are two tools we've tested which produce great results.
My Sketch and CuteCutter. Both are easy to use but with 2 main differences. My Sketch is an app for your phone and has a small fee for the app. CuteCutter is a web based option which is free to use. Take a look at the instructions below to see which option will work best for you.
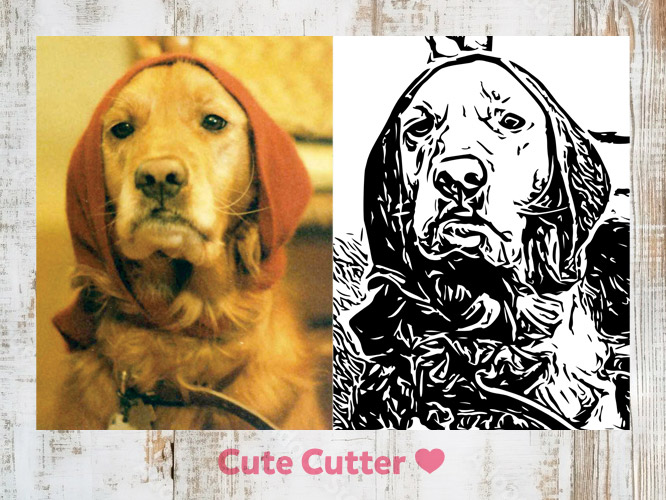
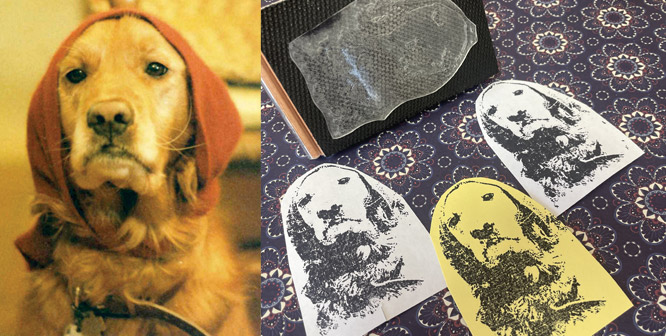
CuteCutter produces an impressionistic, lino block style photo.
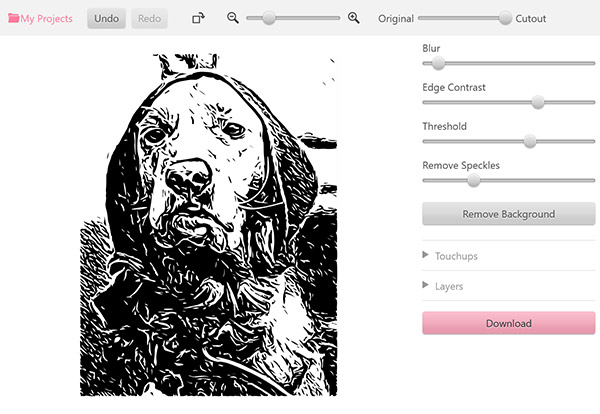
- Visit CuteCutter.com.
- Upload Your Image.
- Edit using several tools available on the site.
- When you are satisfied with your edits Download your svg file.
Creating a Stamp
After you have downloaded the image from either of the tools you are ready to create your stamp.
Step 1. Upload your image to our custom stamp designer
You can now upload your photo stamp image to our Stamp Designer. Here’s a list of all the accepted formats: PDF, JPG, GIF, PNG, BMP, TIFF, SVG, or EPS.
Note: You may see a pop up letting you know the designer cropped any white space.
Once your image is uploaded click the Apply button to add the image to your stamp.
Step 2. Choose the stamp body and ink
Select the stamp body and choose the ink color. Once you do this, you can add the stamp to your cart!
Step 3. Order your photo stamp!
All of our stamps are made in-house, which lets us get your stamp ready to ship in just one business day or less.
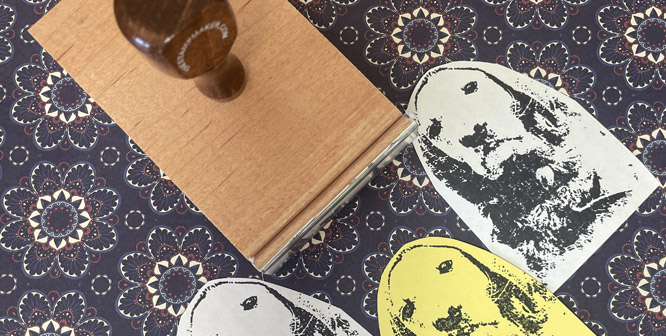
Once your new rubber stamp arrives, it will be ready to use on envelopes, handmade cards, gift wrap, personalized bookmarks, and more. You will have your kids, favorite tv character, first car, or silly drawing ready to make an impression.
Conclusion
There you have it! Now you know how to easily turn your favorite photo (or silliest photo) into a stamp. Photo stamps are perfect for a sweet memento or a memorable gift. If you have any questions, feel free to reach out to our team of experts at [email protected].